With the changes implemented by operating
system manufactures over the last few years, it appears that in the future
TCP/IP printing will be the predominant method to print documents in the
future. Since the newer operating systems support this method of printing,
we have decided to move toward it now as supporting the old method would have
involved a hardware upgrade. Following is a tutorial for setting up TCP/IP
printing in Windows 7.
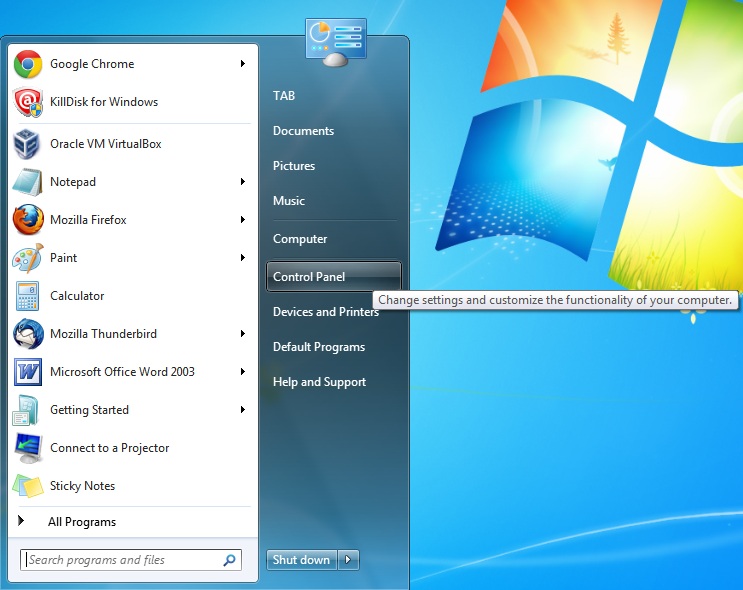 |
Begin by clicking on the start bar, then
Devices and Printers |
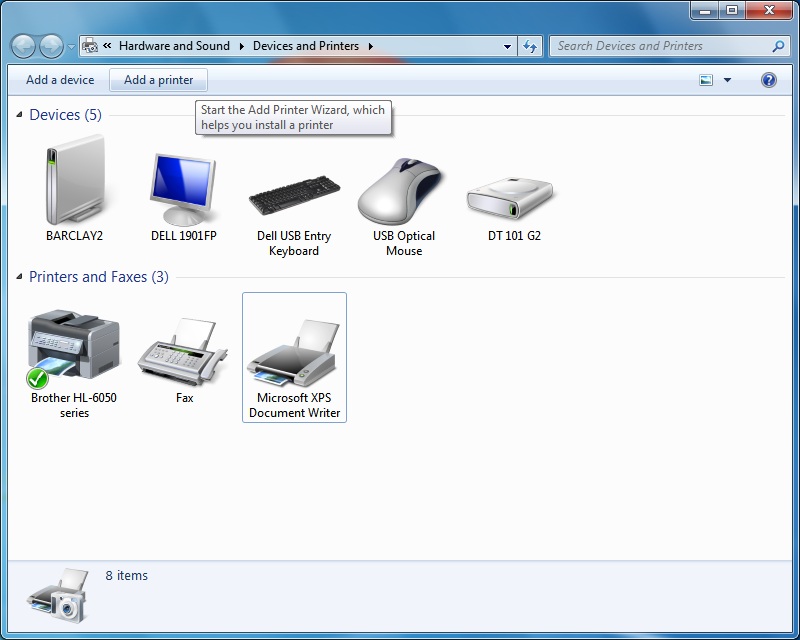
| In the following window that pops up, double click on the Add a Printer button near the top. |
 |
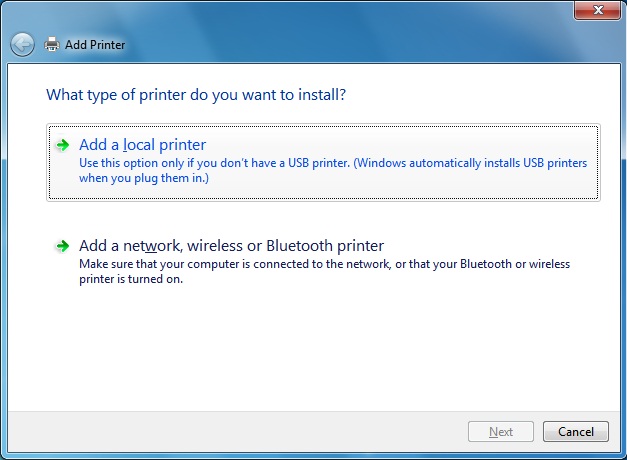 |
Select Add a local printer |
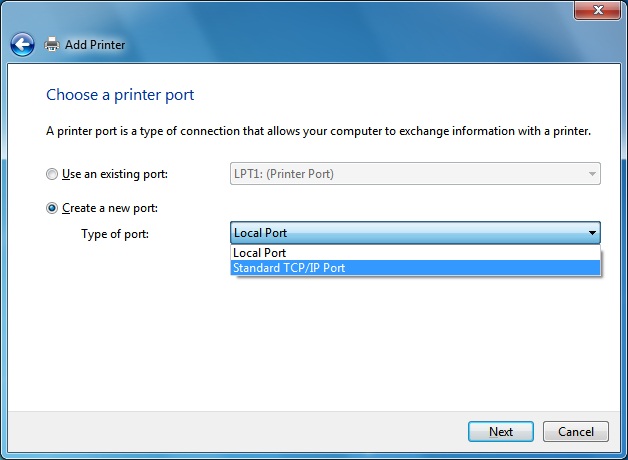
| The next window has an area for you to choose a port that is
already created or to create a new one, we will assume you need to create
a new one to install the printer for the first time, so select Create a new port, then in the drop down box select Standard TCP/IP
Port. Click next to continue, followed by clicking next in the
following window. |
 |
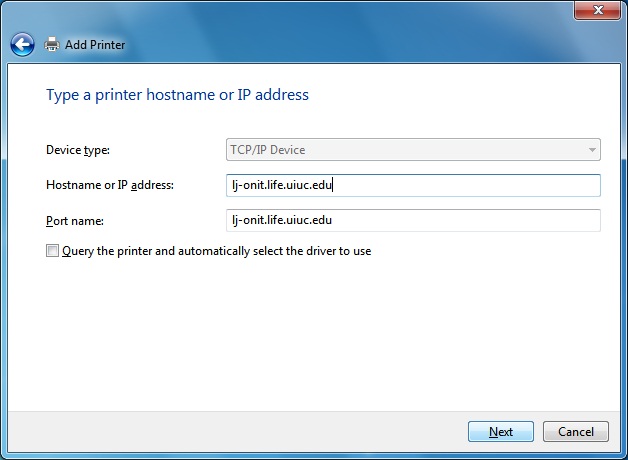 |
Now in the following box that is pictured to the left, type
in the DNS name of the printer that you are wanting to add. If you
do not know this name (it may be on the printer) ask around your area and
see if anyone know it or know to print a self test sheet that will display
it. Otherwise contact help@life.illinois.edu
and we will give you a hand as well as put the label on the printer. Leave the option to query the printer unchecked. Click next, followed by finish in the following window (this can take some time between clicking finish and the next step, so don't worry). |
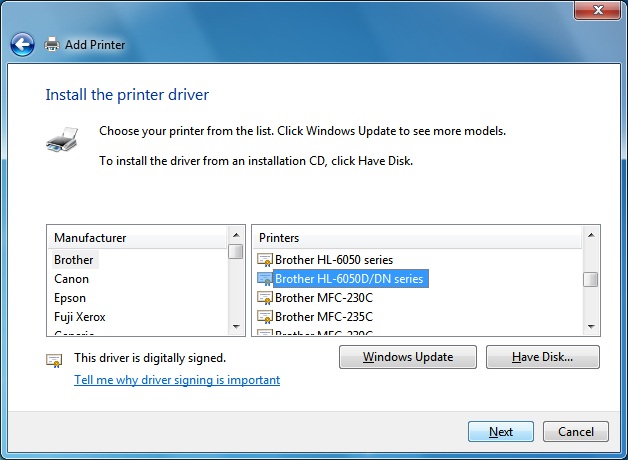
| In this box select the manufacturer and model number of the
printer you are wanting to connect to. NOTE if not listed, you will
have to contact the manufacturer, usually through their web site to obtain
the proper drivers. SECOND NOTE if asked to keep current driver keep
the existing one and just click next. |
 |
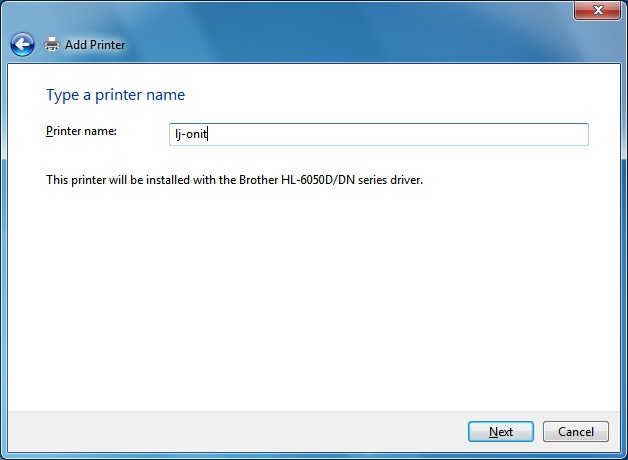 |
In the following box, you can type in the name you want this
printer to be displayed as in the printers folder as well as select if you
want all printed documents to print to this printer by default. When
finished, just click next to continue. The following window will ask
if you want to share the printer, select Do no share this printer
and click next again. The following page then asks if you want to
print a test page, select Yes and click next again. |
| And now you are done click finish and the printer will be added to your printers folder. Printe a test page to ensure that the printer has been set up correctly and if there is a problem contact help@life.illinois.edu and we will be there to help you. |
 |
|